Now that we have our Veeam Proxy Appliance deployed, installed and configured, the next step is to start protecting some of the workloads we have sitting in our Nutanix AHV Cluster.
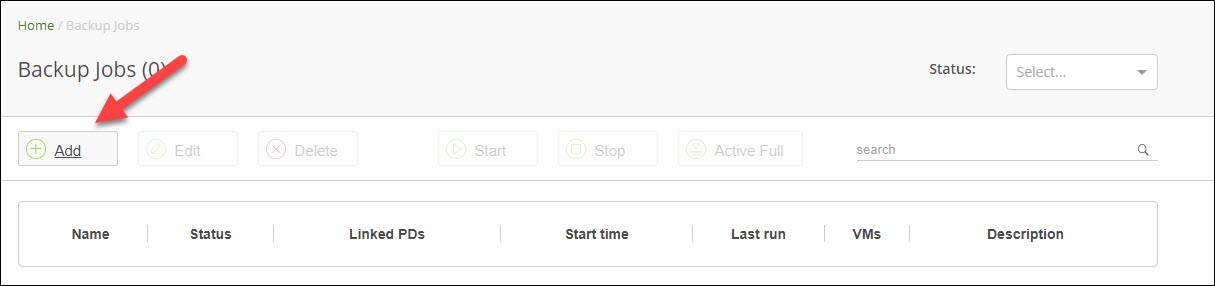
Step 1: Click Backup jobs.
Step 2: Click Add at the toolbar.
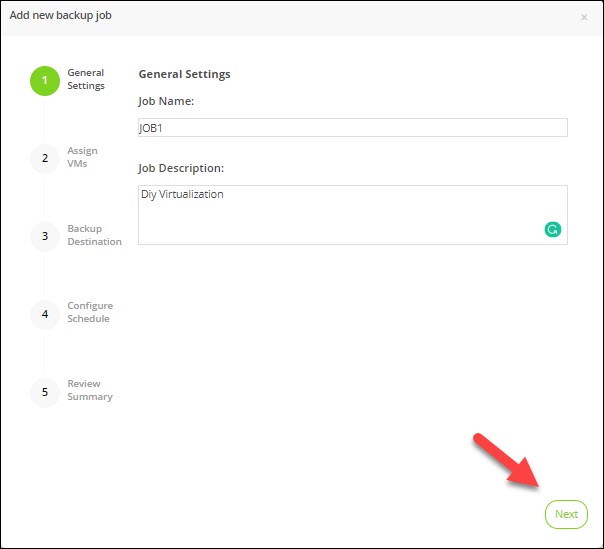
Step 3: Give the backup job a name.
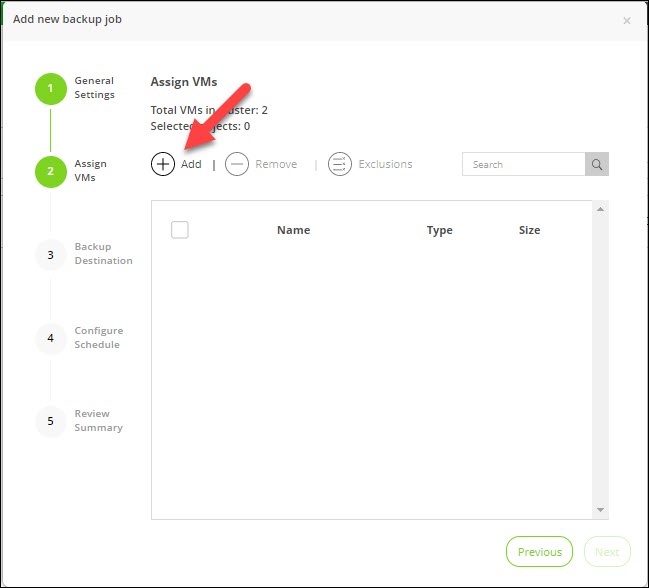
Step 4: We need to add in our virtual machines. Click Add
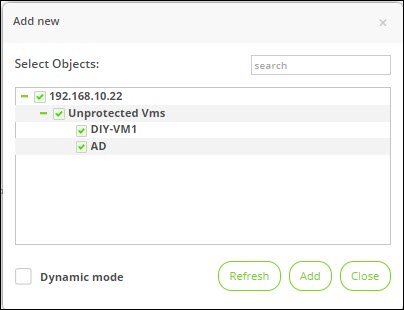
Step 5: Choose the VM’s, Click Add.
Step 7: Choose the backup target. Click Next.
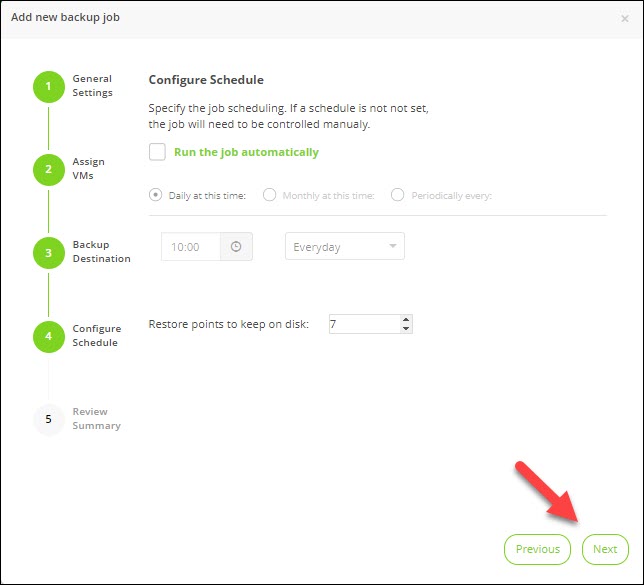
Step 8: Define the job schedule. Click Next.
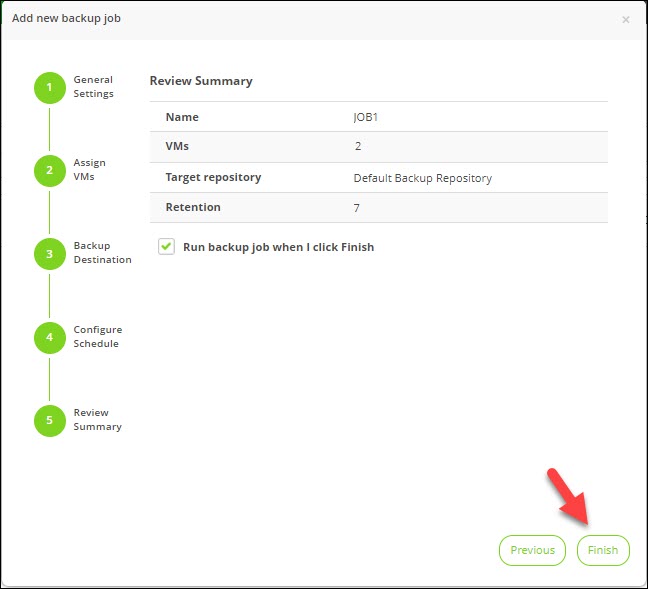
Step 9: If you want to start the backup job right after its configuration, select the Run backup job when I click Add check box.
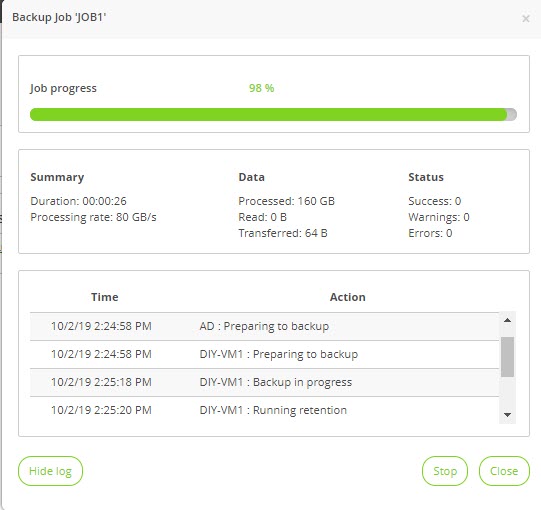
This will trigger the backup job to perform a full backup of the virtual machines you have selected.
This will trigger the backup job to perform a full backup of the virtual machines you have selected.