In the previous post of Deployment, this post will touch on the installation and setup of the Nutanix AHV Proxy Appliance.
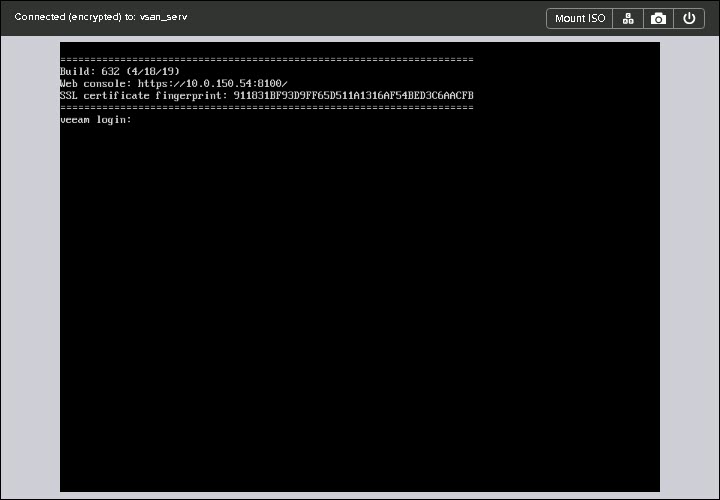
Step 1: Click Launch Console. On the VM console, you will see the URL address. To log in to the appliance web UI, open https://<static_IP_address>:8100 in a web browser.
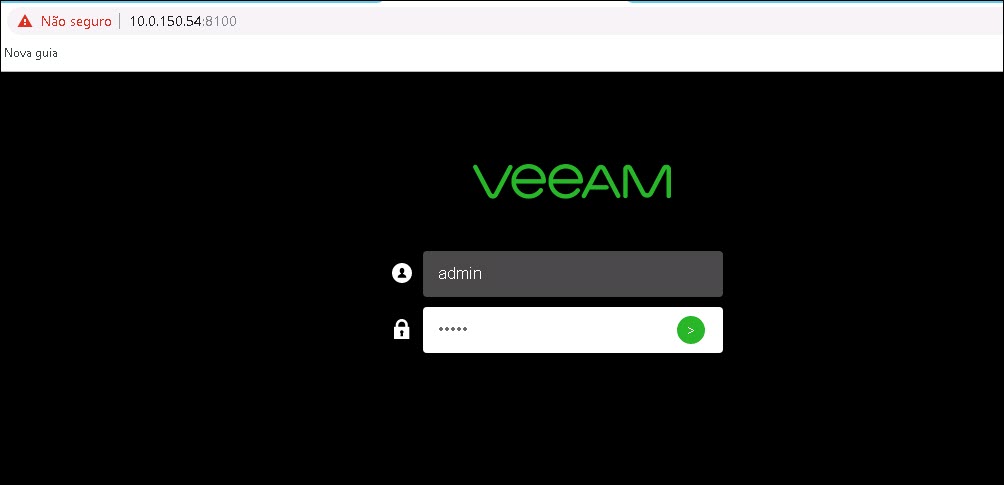
Step 2: Enter default credentials (login: admin; password: admin) to log in to the web UI.
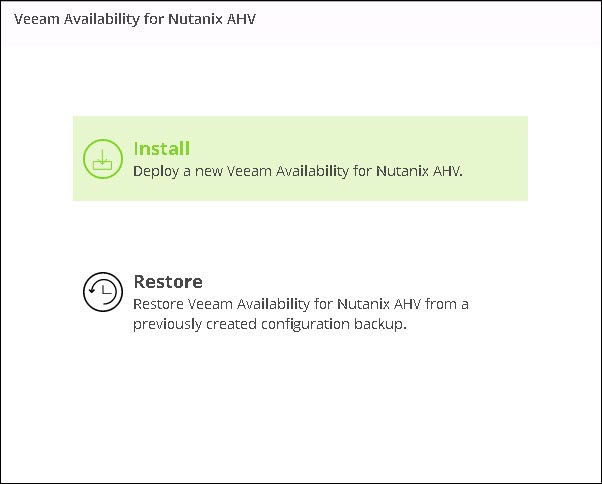
Step 3: Click Install to start the installation wizard.
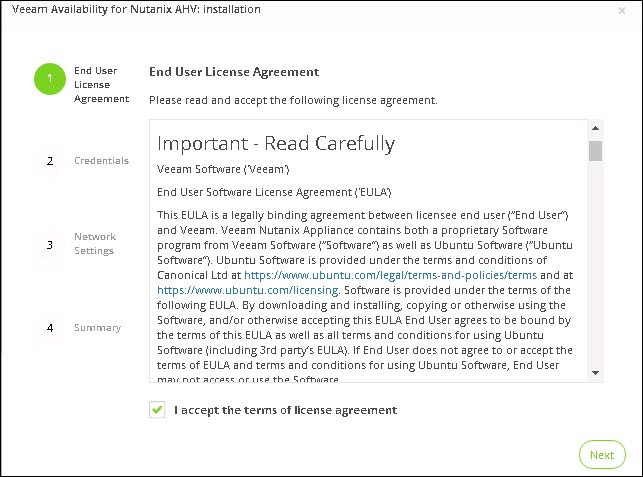
Step 4: Select the I accept the terms of license agreement check box. Click Next.
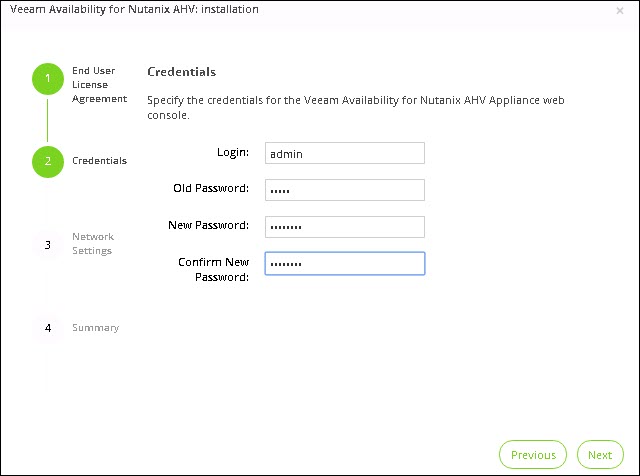
Step 5: Change the default password for the admin user. Click Next.
Step 6: Specify the appliance hostname and network settings:
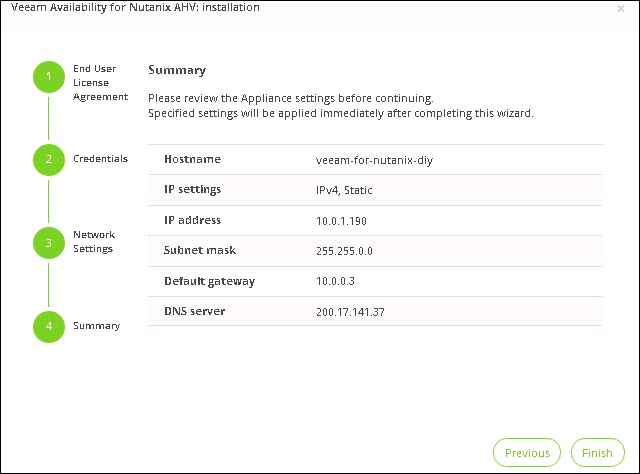
Step 7: Review the appliance settings and click Finish.
When you click finish at this stage you will be notified that the installation configuration is being applied and you have a 60 second timer to sit through before the login prompt will reappear.
You will be redirected to the login screen. Specify new credentials and log in to the web UI.
Part 1: Deploy Veeam Availability for Nutanix AHV
Part 2: Install Veeam Availability for Nutanix AHV
Part 3: Configuring Veeam Availability for Nutanix AHV
Part 4: Creating a backup job: Nutanix AHV With Veeam