Prepare the Windows Server 2016 for the installation VDA. Create a VM and install Windows Server 2016, install vmware tools, windows patches and applications.
Use the Citrix Virtual Apps and Desktops installer’s command line interface to install a VDA .
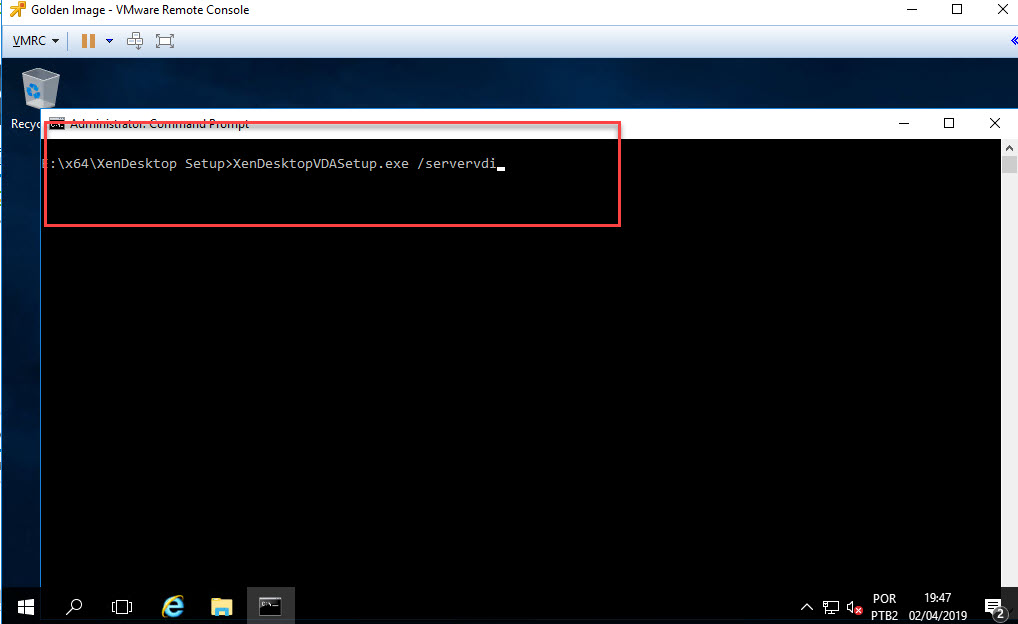
Step 1: Open CMD and execute: xendesktopvdasetup.exe /servervdi
Step3: If you require receiver select it if not remove.
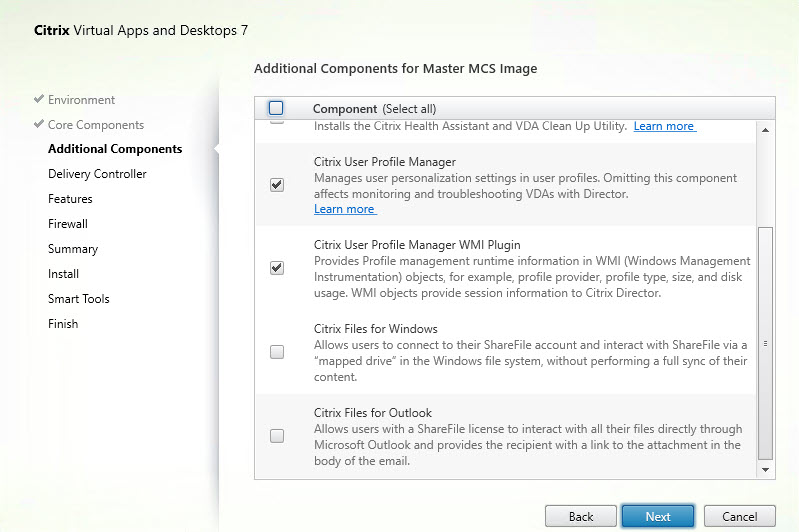
Step 4: In Additional Components check boxes to enable or disable installation of other features and technologies with the VDA, Select next.
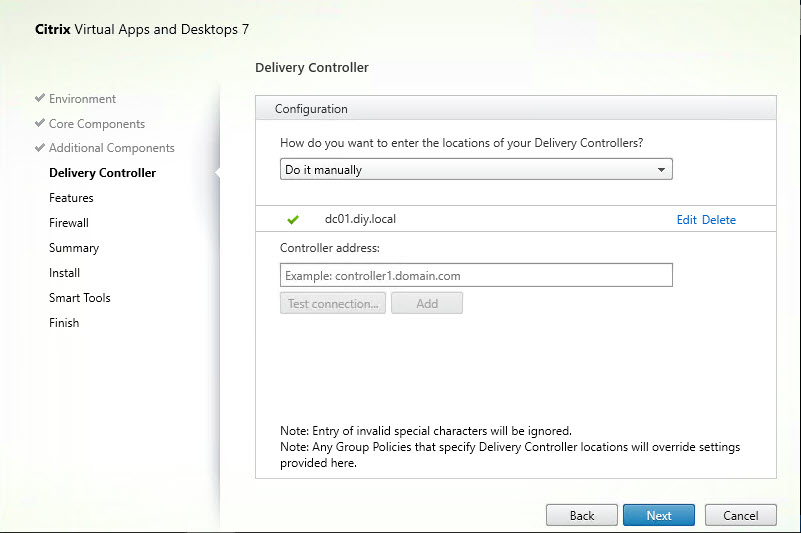
Step 5: Input name Delivery and click Next.
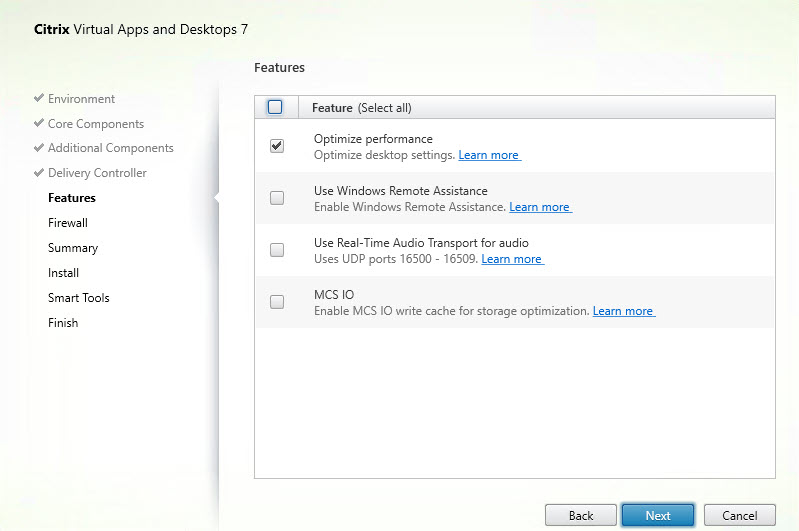
Step 6: Enable Features and click Next.
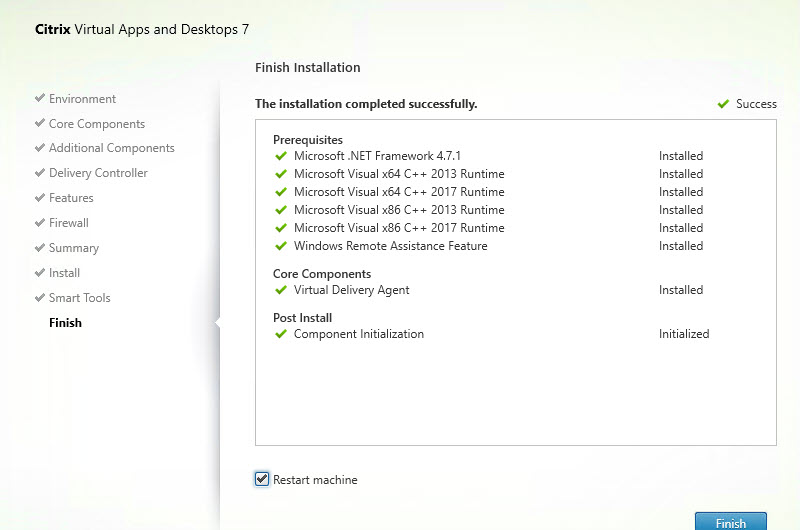
Step 10: Click Close. The server will restart.
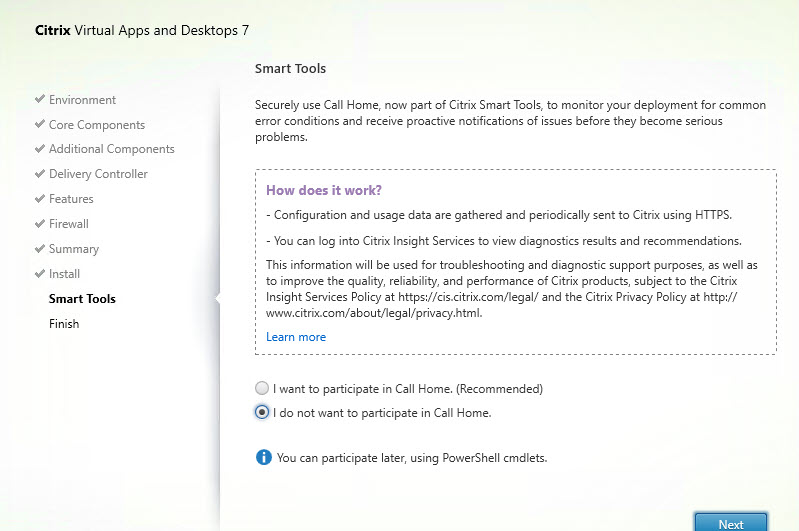
Step 11: Once VDA is installed, select call home if required and next
Step 12: After the installation of the VDA, take a snapshot.
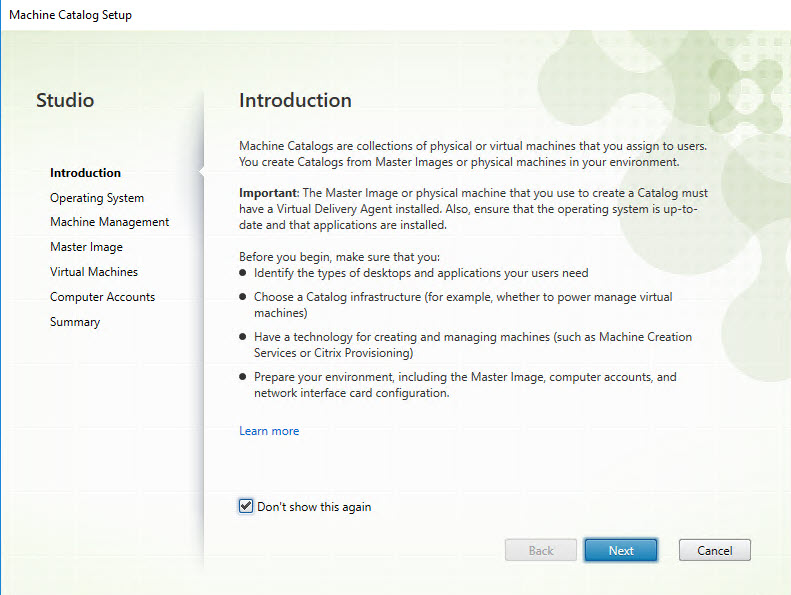
Step 14: Introduction and click Next.
Step 15: Select Desktop SO and click Next.
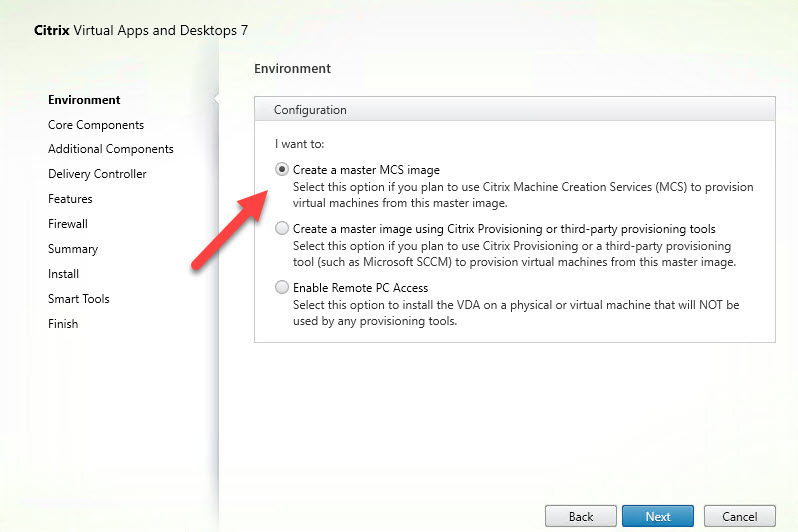
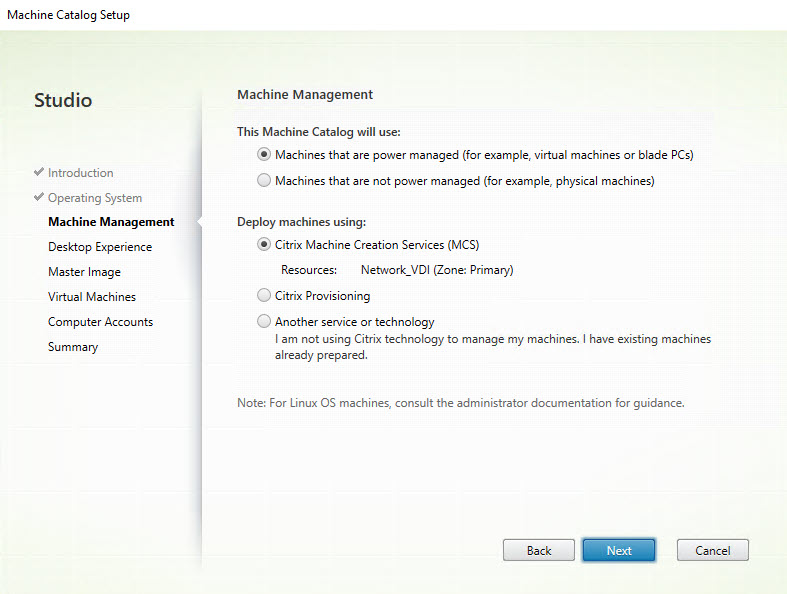
Step 16: Select “Machine that are power managed” and “Citrix Machine Creation MCS”. Click Next.
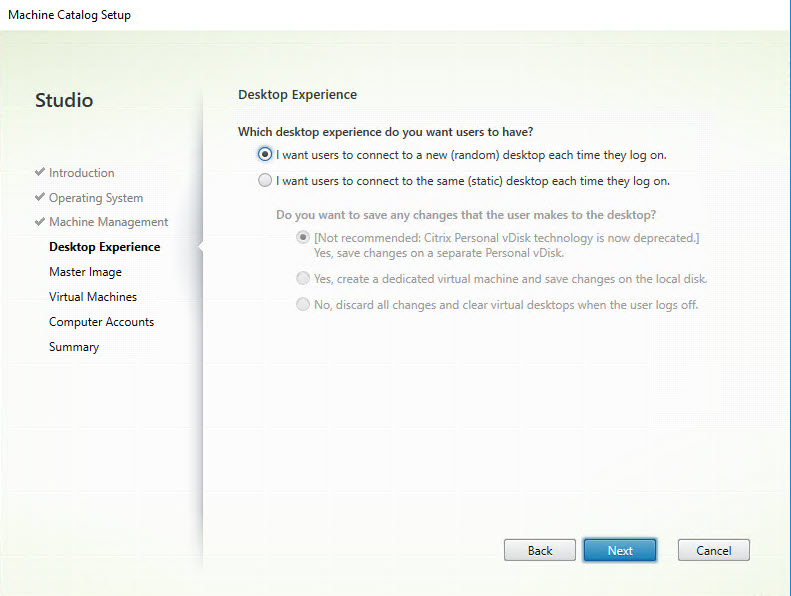
Step 17: Select (random) and click next.
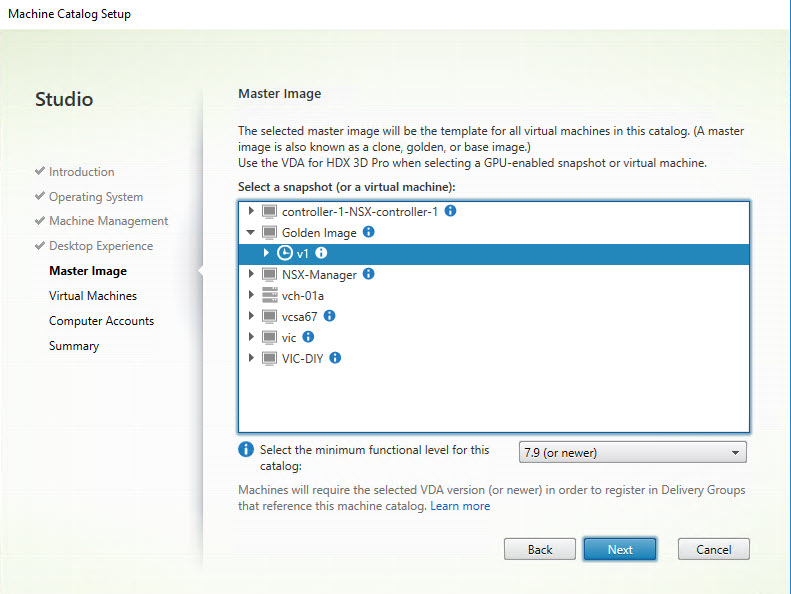
Step 18: In Master Image page, select the snapshot (v1) of Golden Image VM.
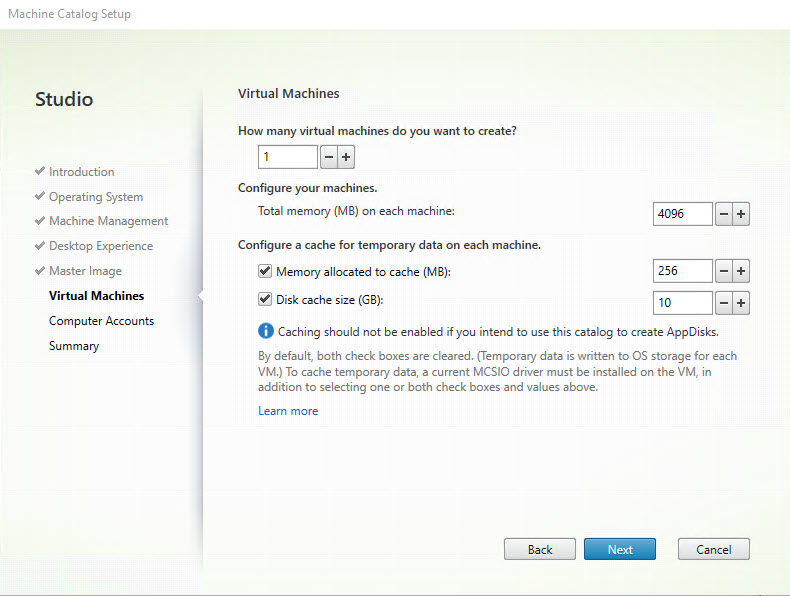
Step 19: I’m going to create only a VM. Click Next.
Step 20: Select the domain, OU to create computer accounts.
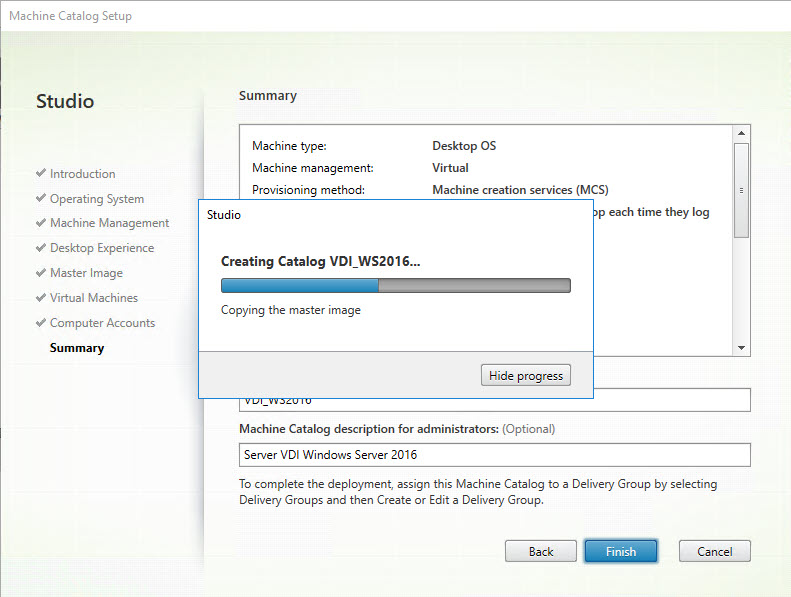
Step 21: Provide and name for catalog and finish.
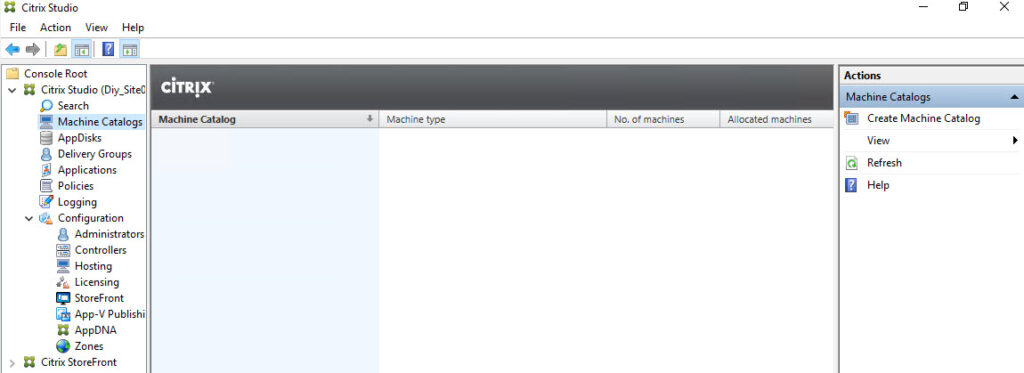
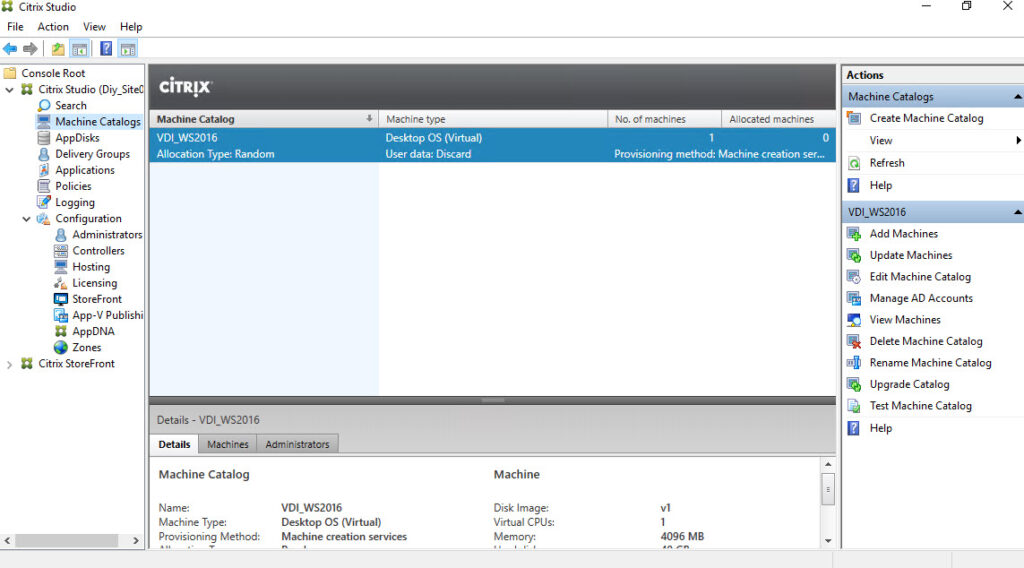
Step 23: Machine catalog is created.
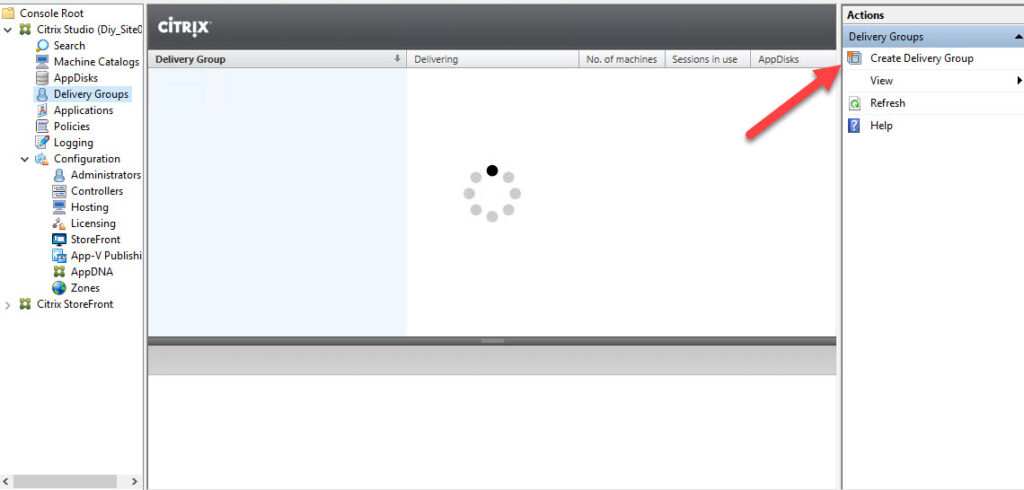
Step 25: Introduction and click Next.
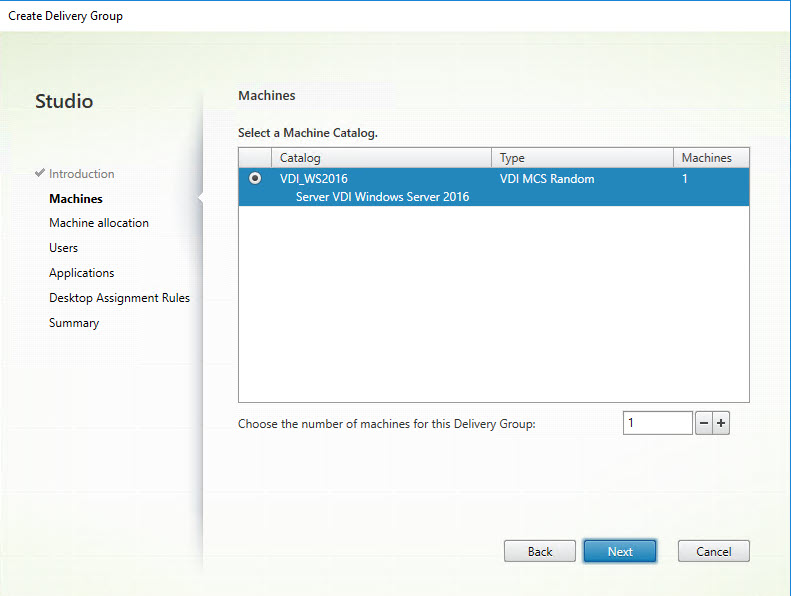
Step 26: On the Machines page, select a catalog and select the number of machines you want to use from that catalog.
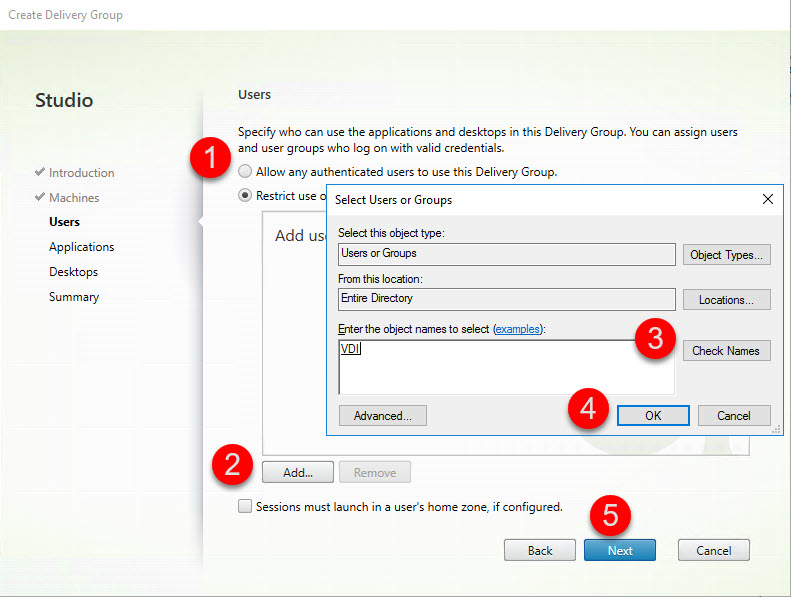
Step 27: Select “Allow any authenticated users to use Delivery Group.”
Step 28: On the Applications click Next.
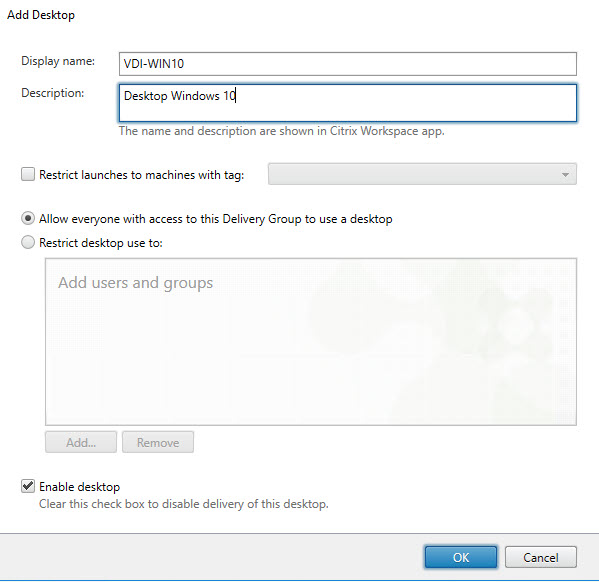
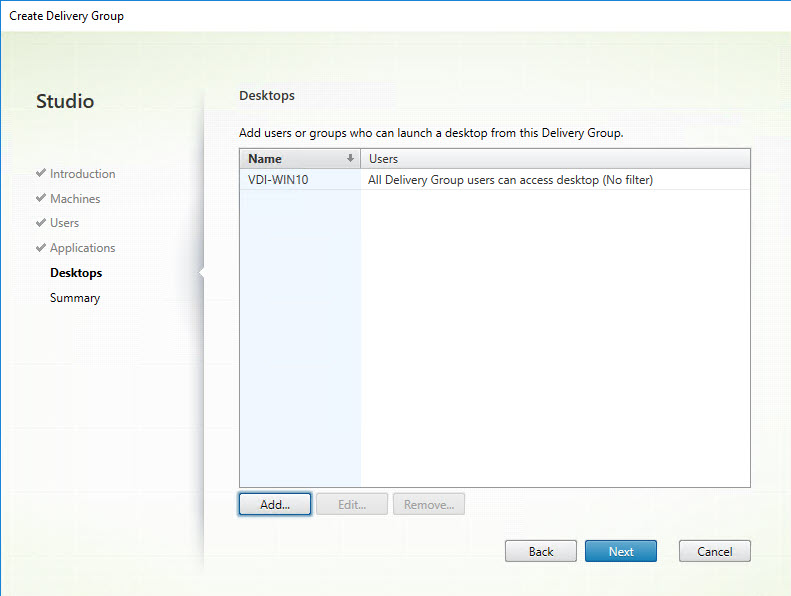
Step 29: On the Desktops click Add…
Step 30: In the Display name and Description fields, type the information to be displayed in Citrix Workspace app.
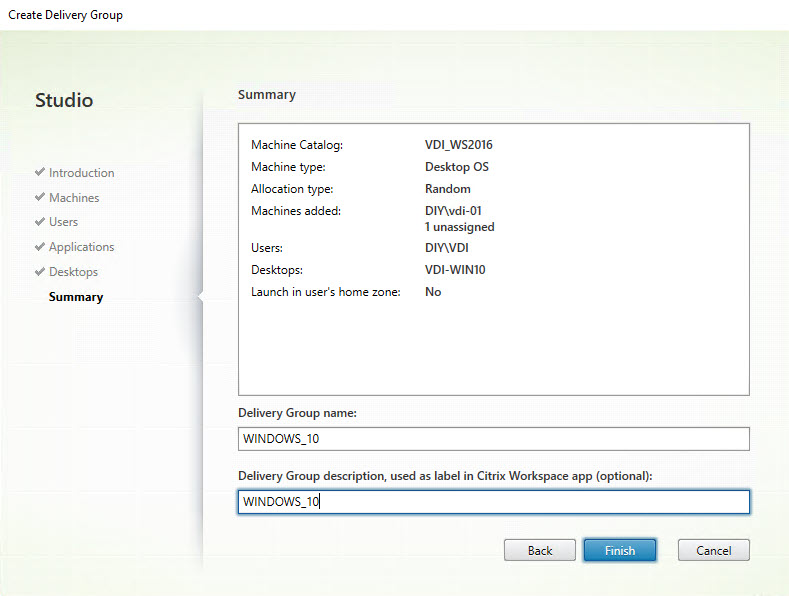
Step 32: Enter a name for the Delivery Group. Click finish.
Step 33: Click View Machines.
Step 34: Status should show as Registered.