Today Nutanix brought great news to its customers: the possibility of creating a Nutanix Cluster on AWS. Providing more possibilities for customers to expand their environments to the Cloud.
I had the great opportunity to test the Nutanix Cluster on AWS before the official launch of Nutanix.
Below I will show the necessary steps to carry out the deployment of a Nutanix cluster on AWS.
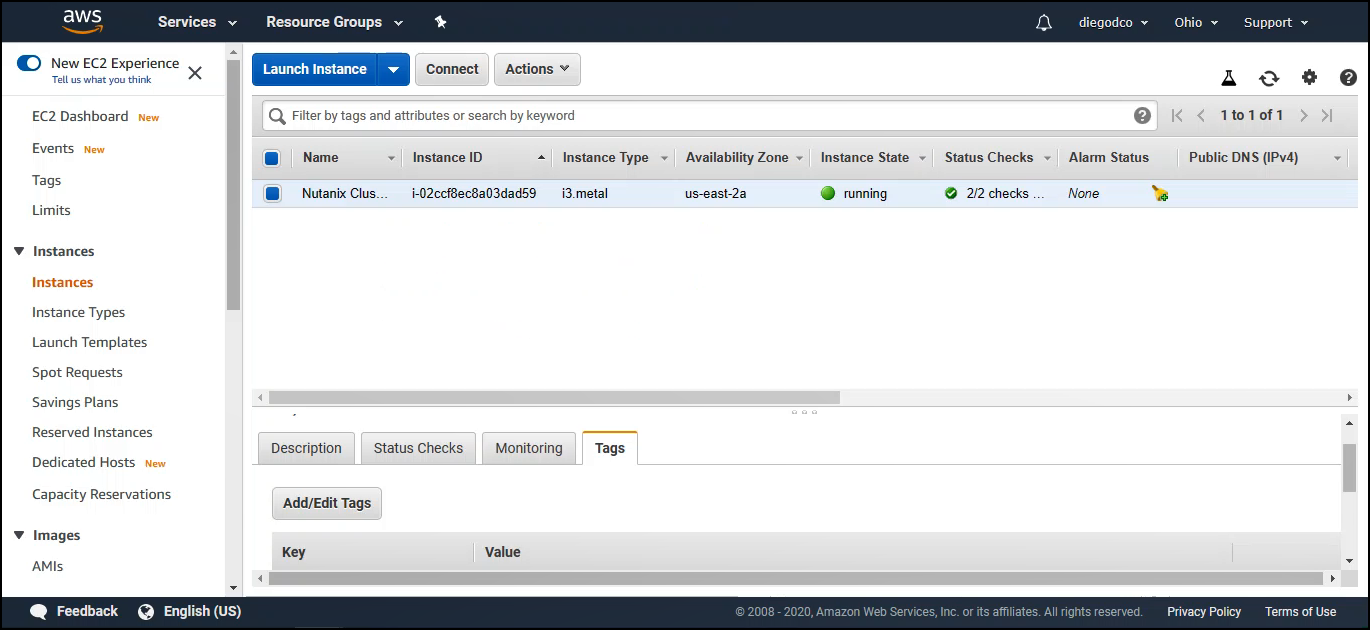
Tip: First check if your AWS account has the possibility to create an instance of the metal type, for example i3.metal.
First step: Add an AWS account
Step 1: Log in to My Nutanix portal, click on Launch.
Step 2: After connecting to the Nutanix Cluster Console, you will need to add your AWS account. To get information, log into your AWS account.
Step 3: On the Customer tab, click Add Cloud Account.
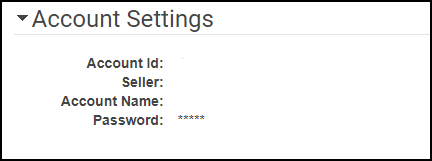
Step 4: In Cluster Portal, add your account information and Click on Prepare Account with AWS CloudFormation.
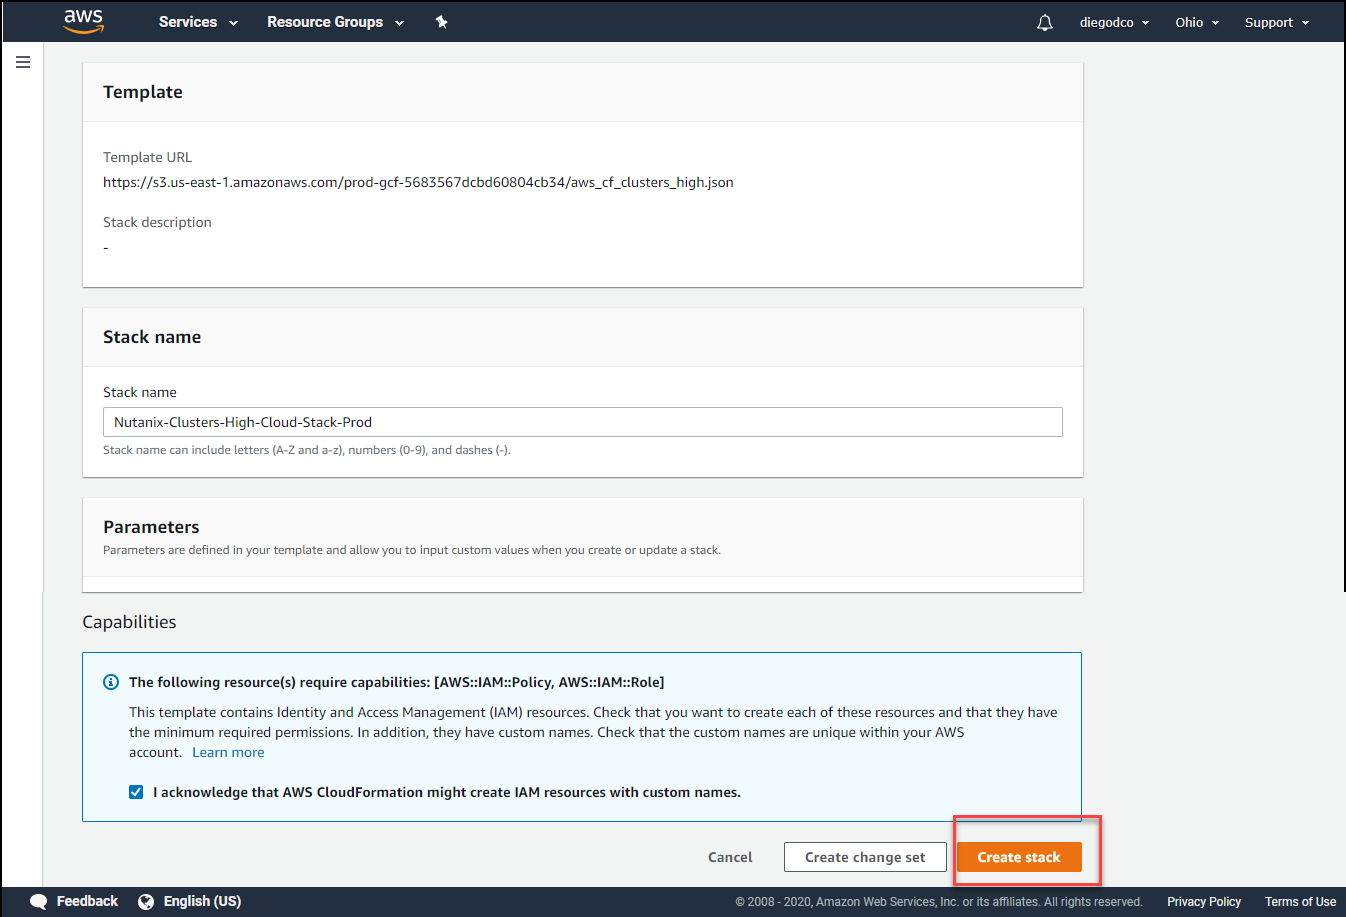
Step 5: You will be redirected to the AWS account, click on Create stack.
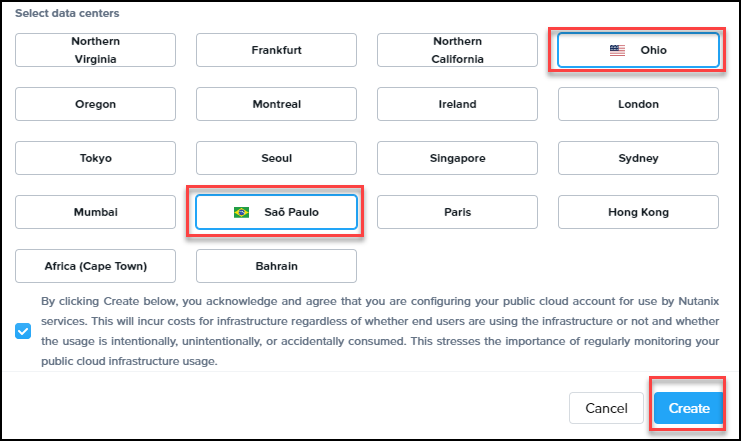
Step 6: After you have completed the Stack creation step, go back to the Cluster Portal and click Verify to validate that step. Select the region of the datacenters and click Create.
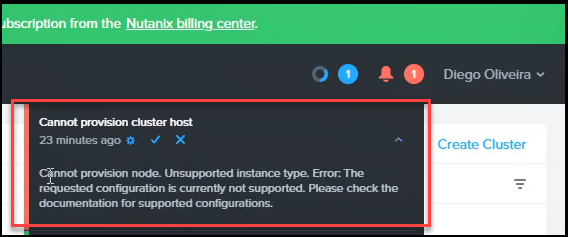
Step 7: The status of adding the account in the cloud can be checked on the Clusters portal. “R” status means that the cloud stack is “ready”.
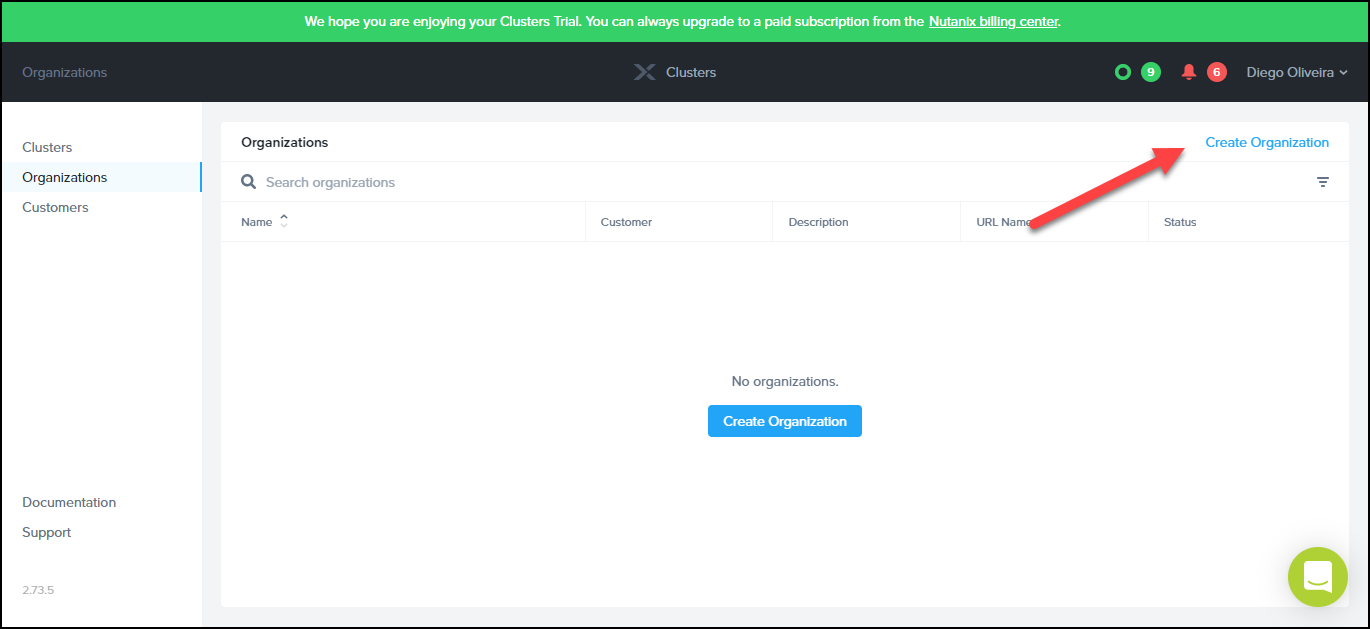
Step 8: After that, will create an organization, click on Create Organization.
Step 9: Enter the data and click Create.
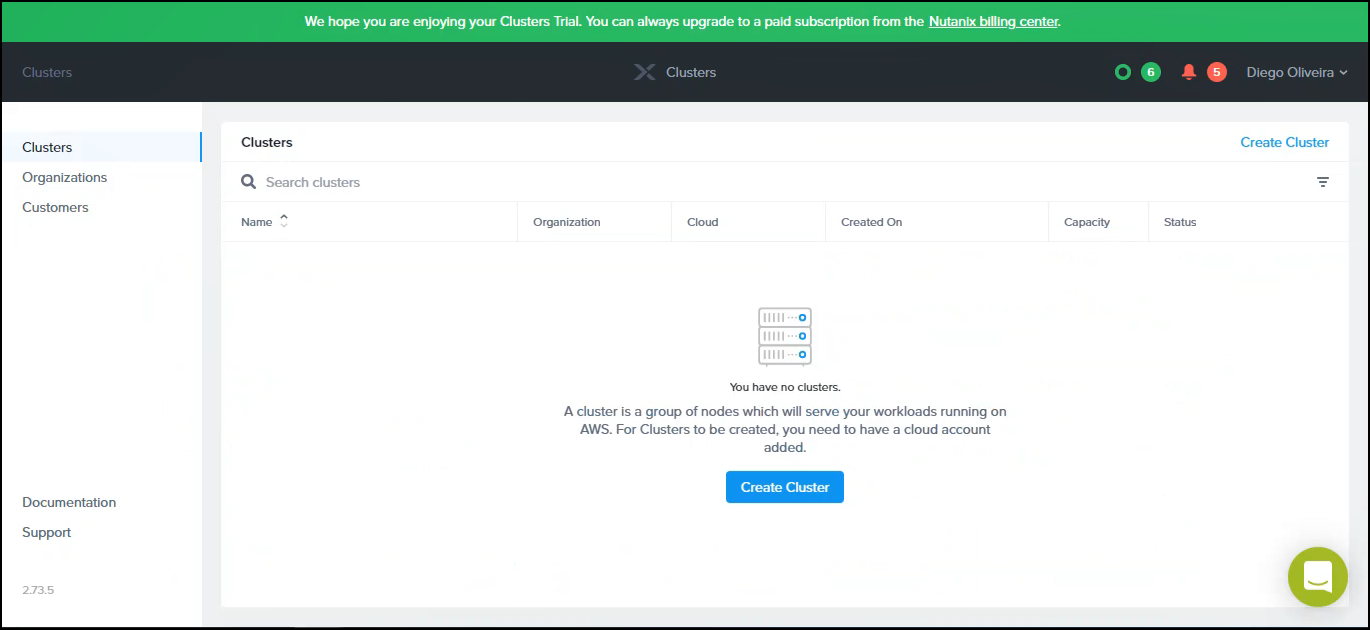
Now let’s go to the best part, creating the Nutanix Cluster.
Step 1: On the Clusters tab, click Create Cluster.
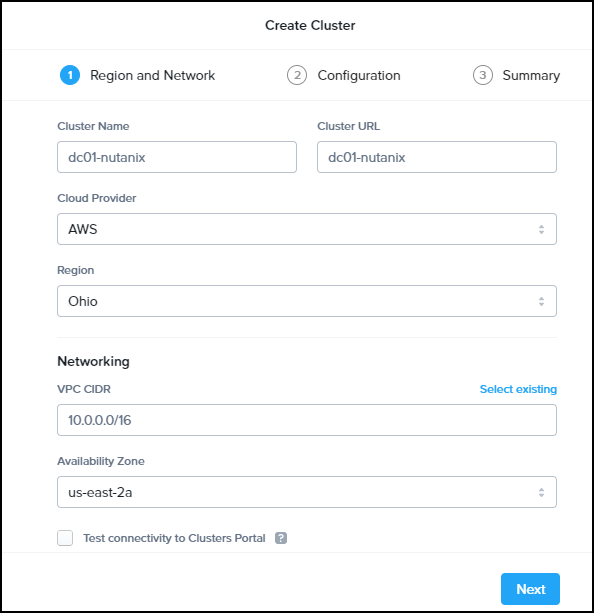
Step 2: Enter the information below:
Name, Region and VPC. When configuring the VPC I preferred the Nutanix Cluster Console when creating the cluster, Nutanix Cluster to automatically set up the security groups with the necessary rules. To do this, click Create New.
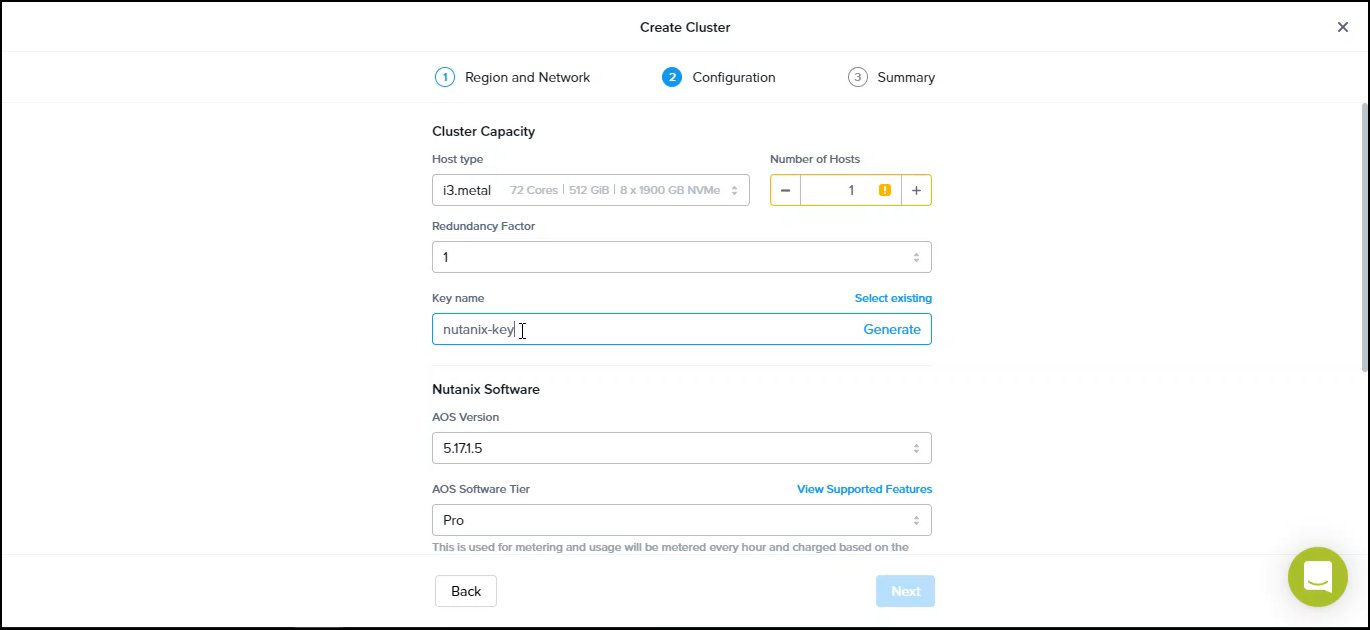
Step 3: Setting up the cluster:
Below are the selections required for the cluster setup:
AOS versions, cluster capacity, host type, number of nodes, etc. Enter the key name and generate the ssh key, download the generated key. Click “Next”.
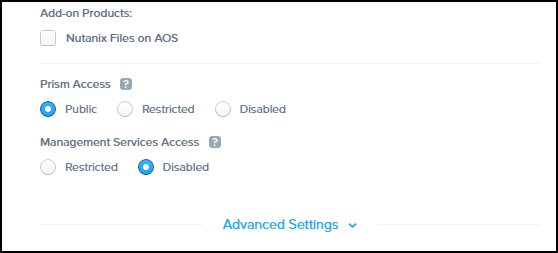
Step 4: In Prism Access select Public to be able to access the Prism Element, after creation.
Step 5: Step 4: Check the options and click Next.
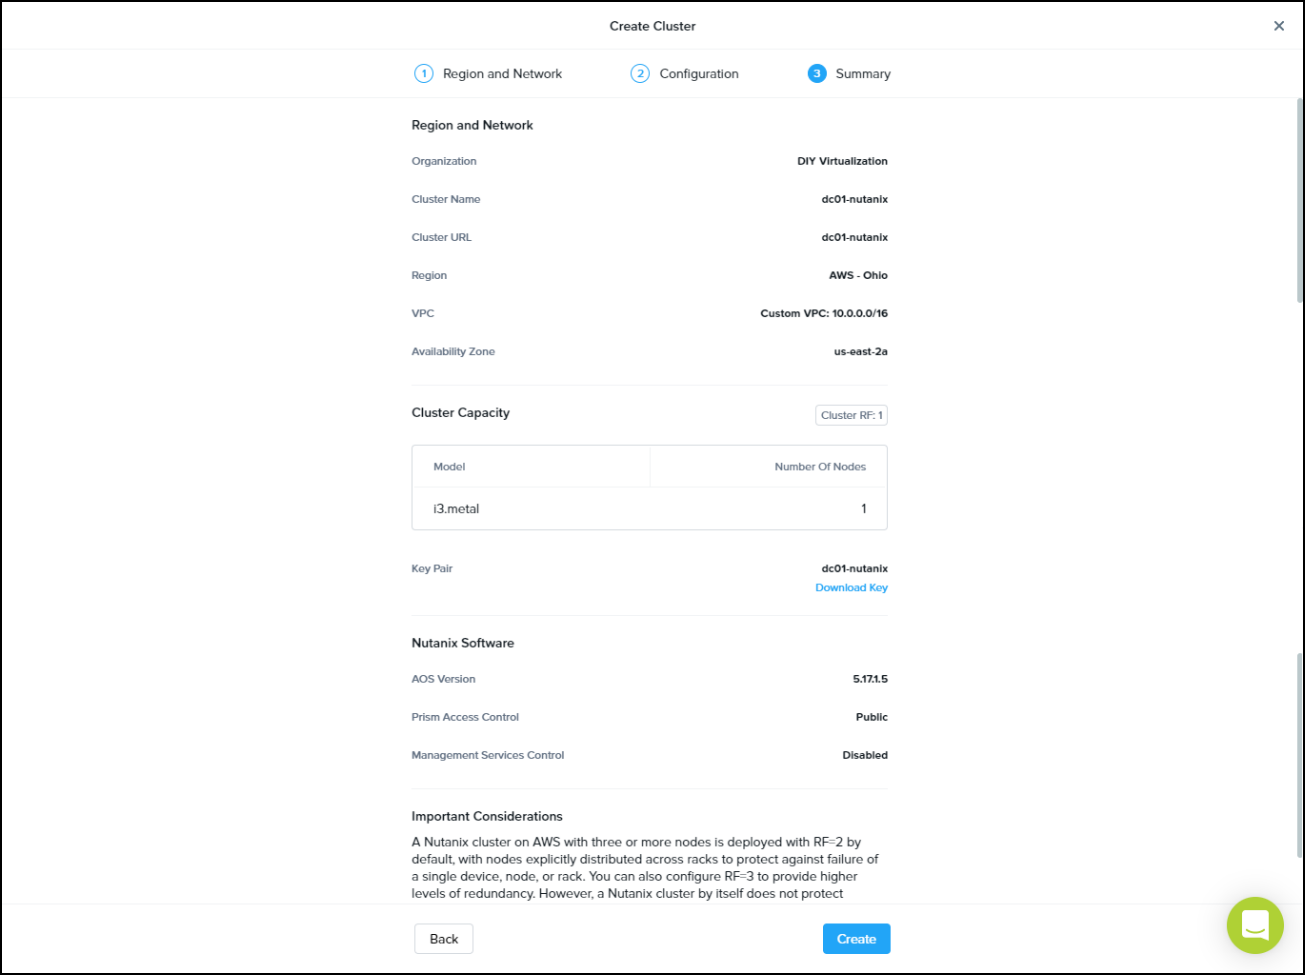
Check all the information and click Create.