Today we’ll deploy VMware VCSA 6.7 U1 in VMware Workstation 15.
Step 1: Make sure your LAN has connectivity with DNS.
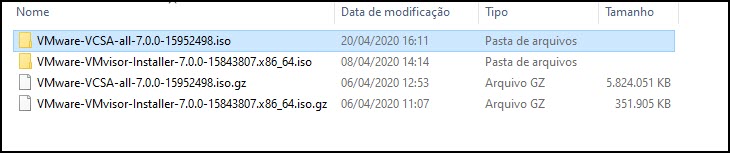
Step 2: Download the VMware VCSA 6.7 and extract it.
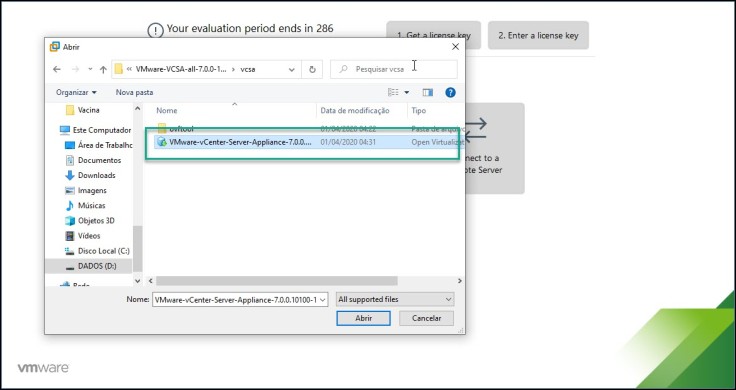
Step 3: Open VMware Workstation and do File > Open > and go to VCSA folder.
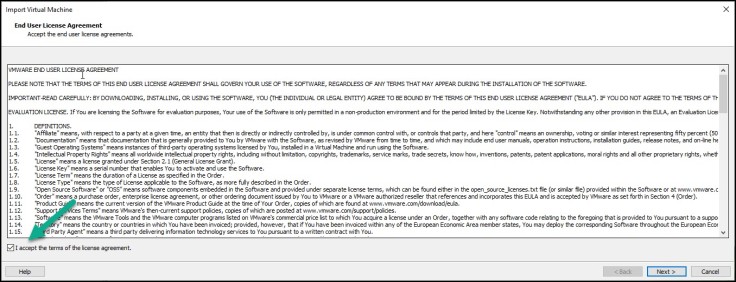
Step 3: Accept the EULA.
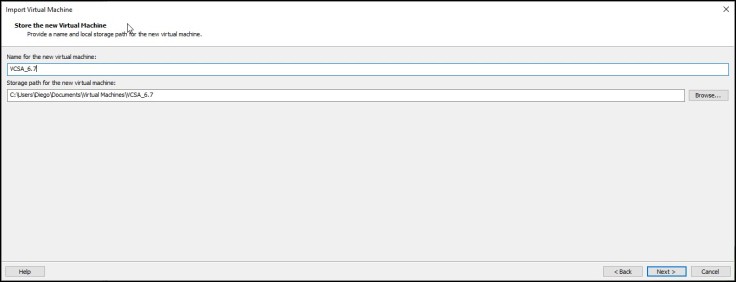
Step 4: Enter the name, change the storage path if desired and click Next.
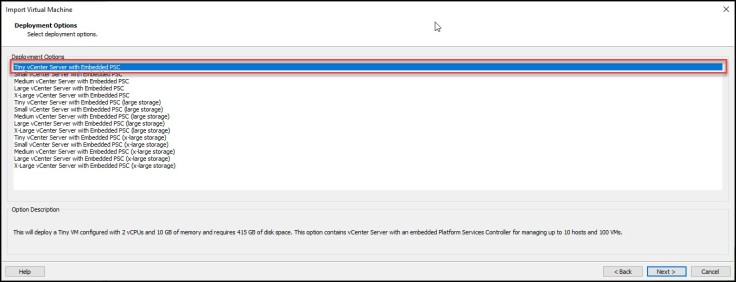
Step 5: Choose the type and click Next.
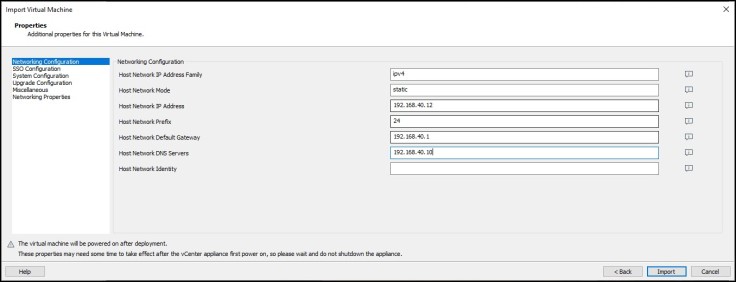
Step 6: Enter the network details fo VCSA.
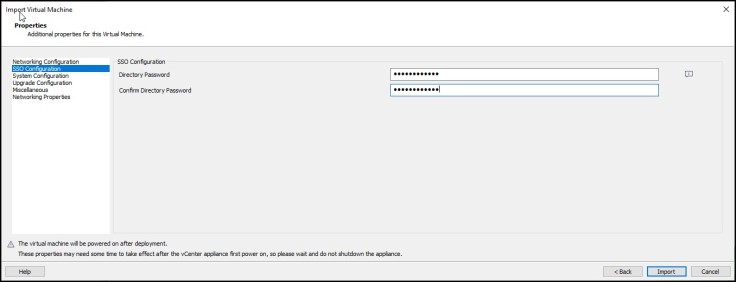
Step 6.1: Select SSO Configuration, provide the SSO password.
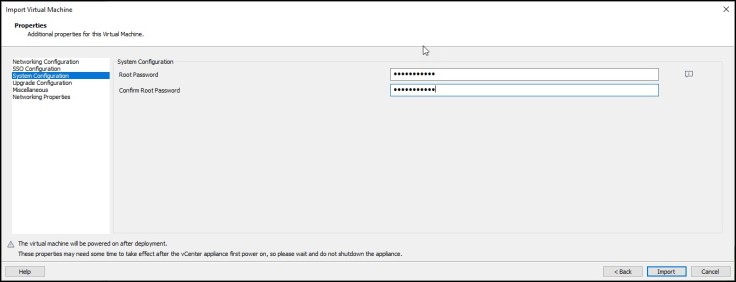
Select 6.2: Select System Configuration, provide the Root password for VCSA and click Import.
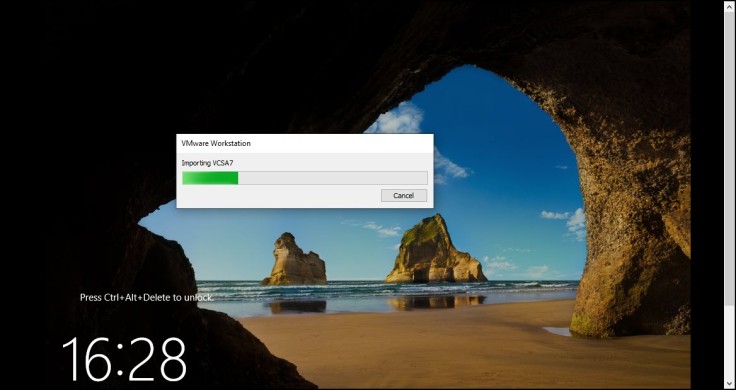
Step 7: Wait until the appliance will be imported into the Workstation.
Step 8: You will get an IP address based on your network configuration.
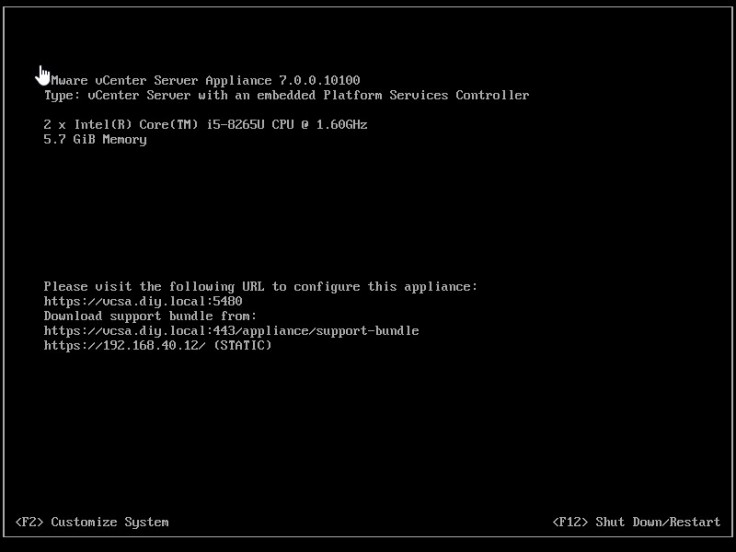
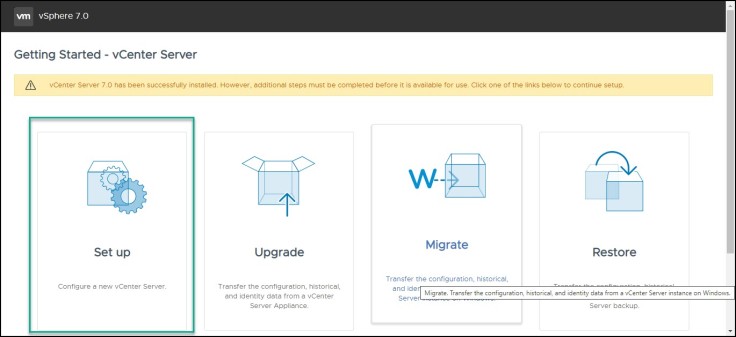
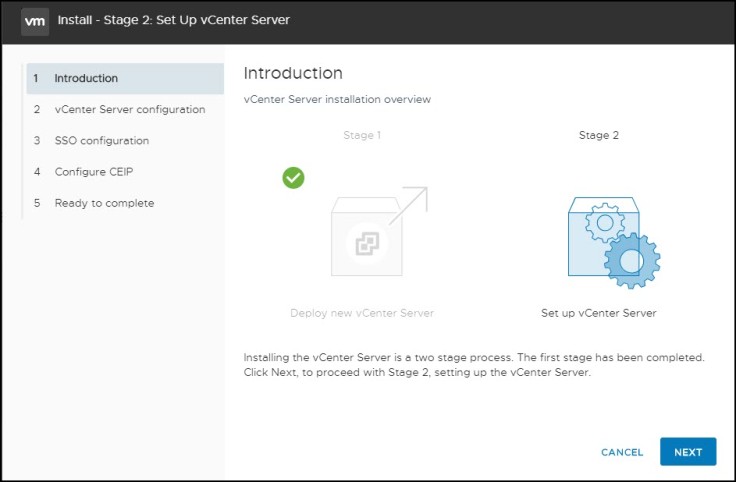
Step 9: Go web browser, enter the IP address of VCSA and 5480 port. In my case, https://192.168.40.12:5480 and Click Set up
Step 10: Click Next.
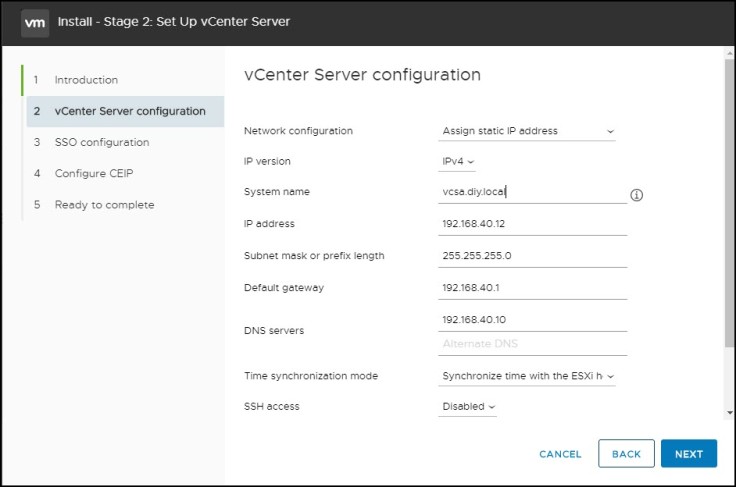
Step 11: Configure Time Sync and SSH. Click Next.
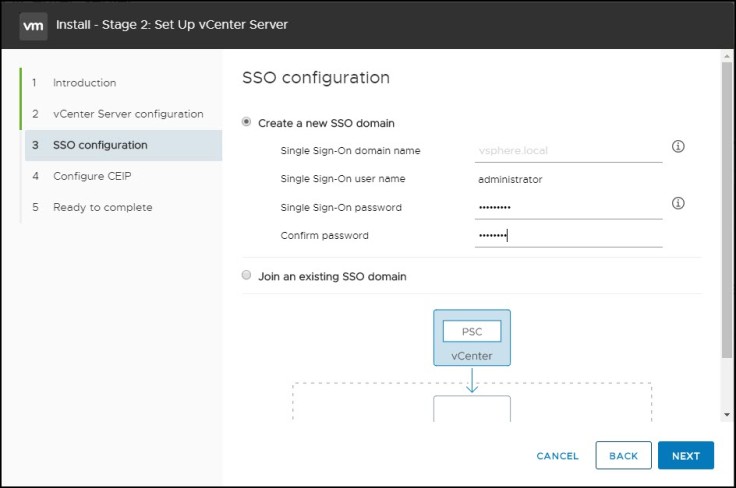
Step 12: Enter the SSO password and Click Next.
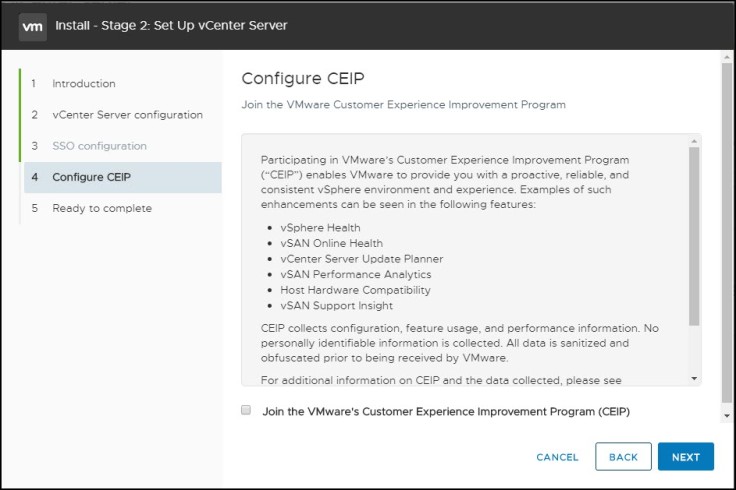
Step 13: If you want to join the Vmware CEIP and Click Next.
Step 14: Review the settings and click Next.

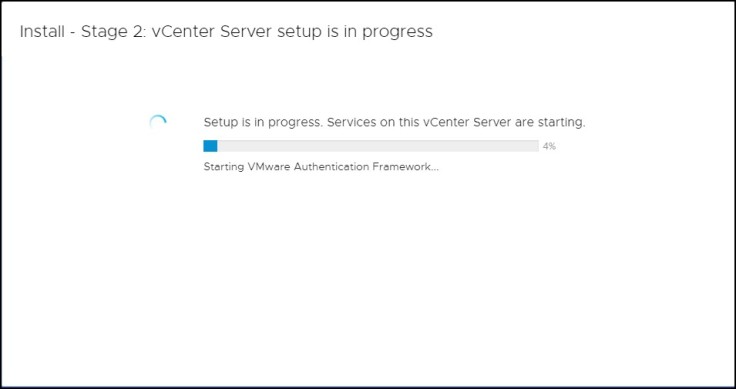
Step 15: Wait the installation is completed, close the windows
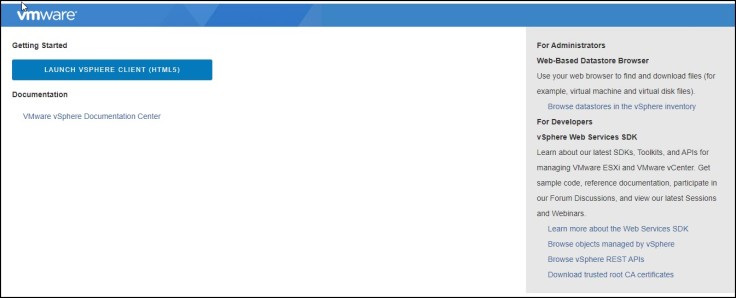
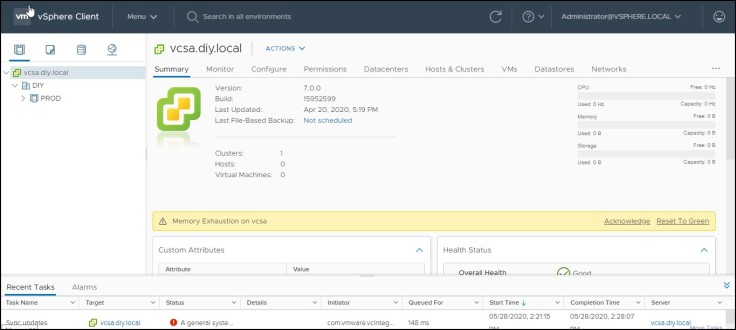
Step 16: Access the VCSA via a web browser using the IP address.

Very good step by step, just add: With the new versions of VCSA it is important to create the PTR record in the DNS (reverse zone). Here is a guide:
https://www.sysadmit.com/2020/12/vmware-instalar-vcsa-en-workstation.html
LikeLike
Hi Author, I am having issues where VCSA deployment 6.7 failed at 97% frustratingly unable to start vmware-perfcharts service. DNS is setup as i setup a DNS on a DC with DNS Windows Serer 2019
This is on vmware workstation
LikeLike