
Accessing Nutanix Cluster on AWS
As we saw in the previous post we now have the possibility to create Cluster Nutanix on AWS. We saw the whole process of creating the Cluster, now we are going to browse the Prism Element and some options we have.
In the Nutanix Portal Cluster click on Go to Prism Element:
Simple, isn’t it?

You will be redirected to the Prism Element page. Provide the default username and password, after which you will be asked to change your password.

Provide your information and Accept the EULA.

Let’s leave Pulse enabled.

Done. We have our cluster ready to use, on the home page we have all the necessary information: AHV version, number of VMs, hardware.

We upload our cluster in version 5.17.5.

We have the option to implement Prism Central.

On the Nutanix Cluster portal, we can make some changes to our Cluster.
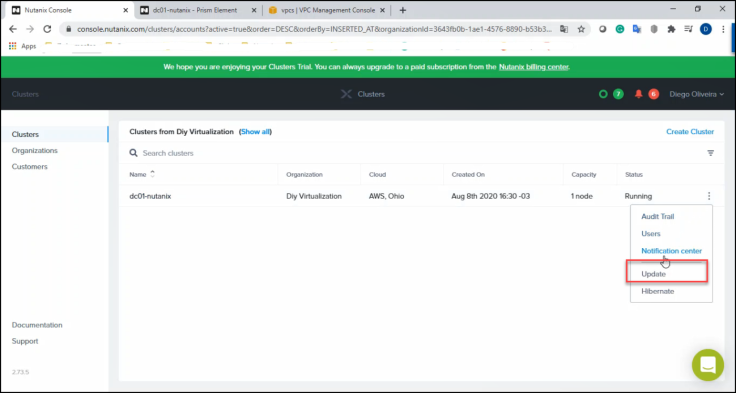
For that we will go back to the Nutanix Cluster portal, in the cluster tab select our cluster and click on update.
We have a few options:
Basic Info:

Access Policy:

Nutanix Software:

SSH Key:

Scheduled Termination:

Terminate:

